
Button settings
In this article, you will learn how to configure buttons for your webinar room.
What you’ll need before you start:
A created webinar (click here to view the instructions)
An active paid plan (click here to choose a plan)
By default, all created buttons are inactive in the webinar room, meaning they are not displayed to viewers. You need to enable them separately directly in the webinar room.
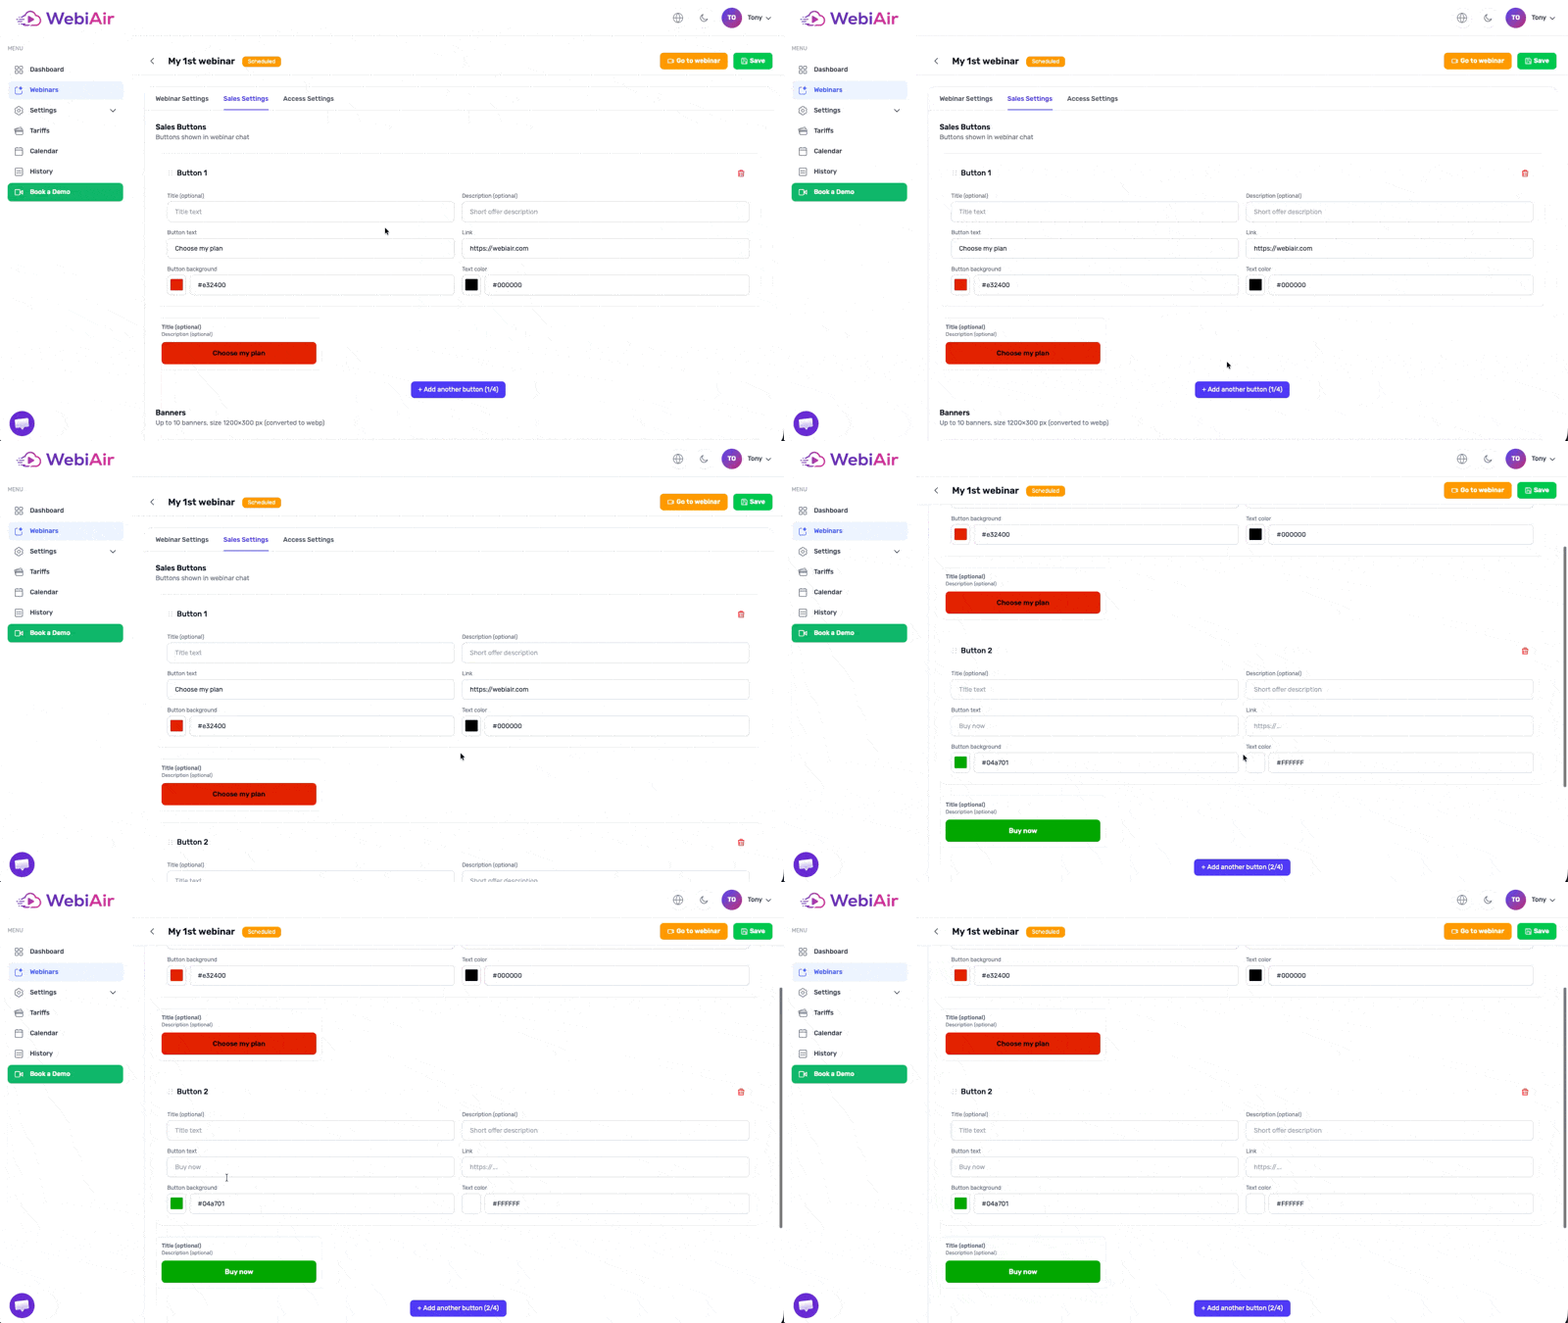
Step 1. Click “Add Button” in the “Sales Settings” section.
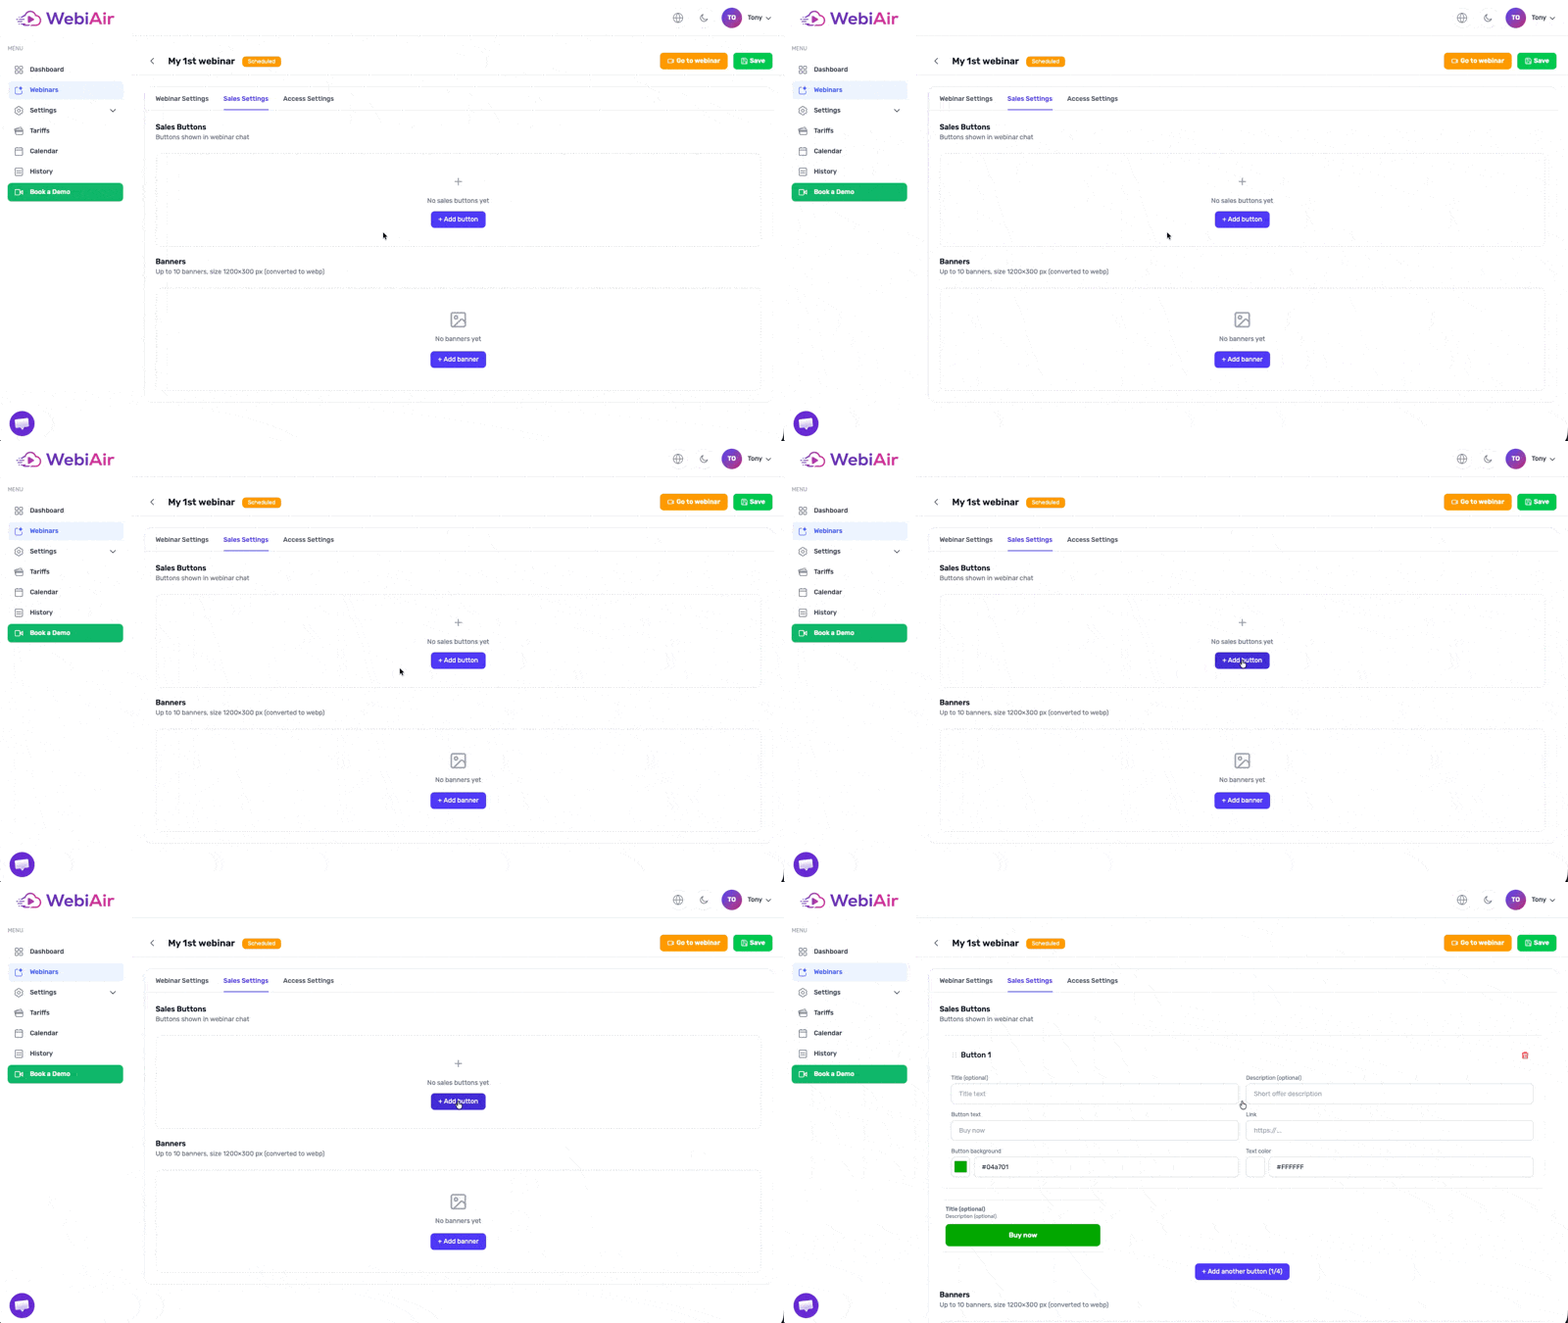
Step 2. In the settings that open, you need to:
Enter the button name that will be displayed in the webinar room in the “Button Text” field.
Add the required URL in the “Link” field. This is where viewers will be redirected when they click the button.
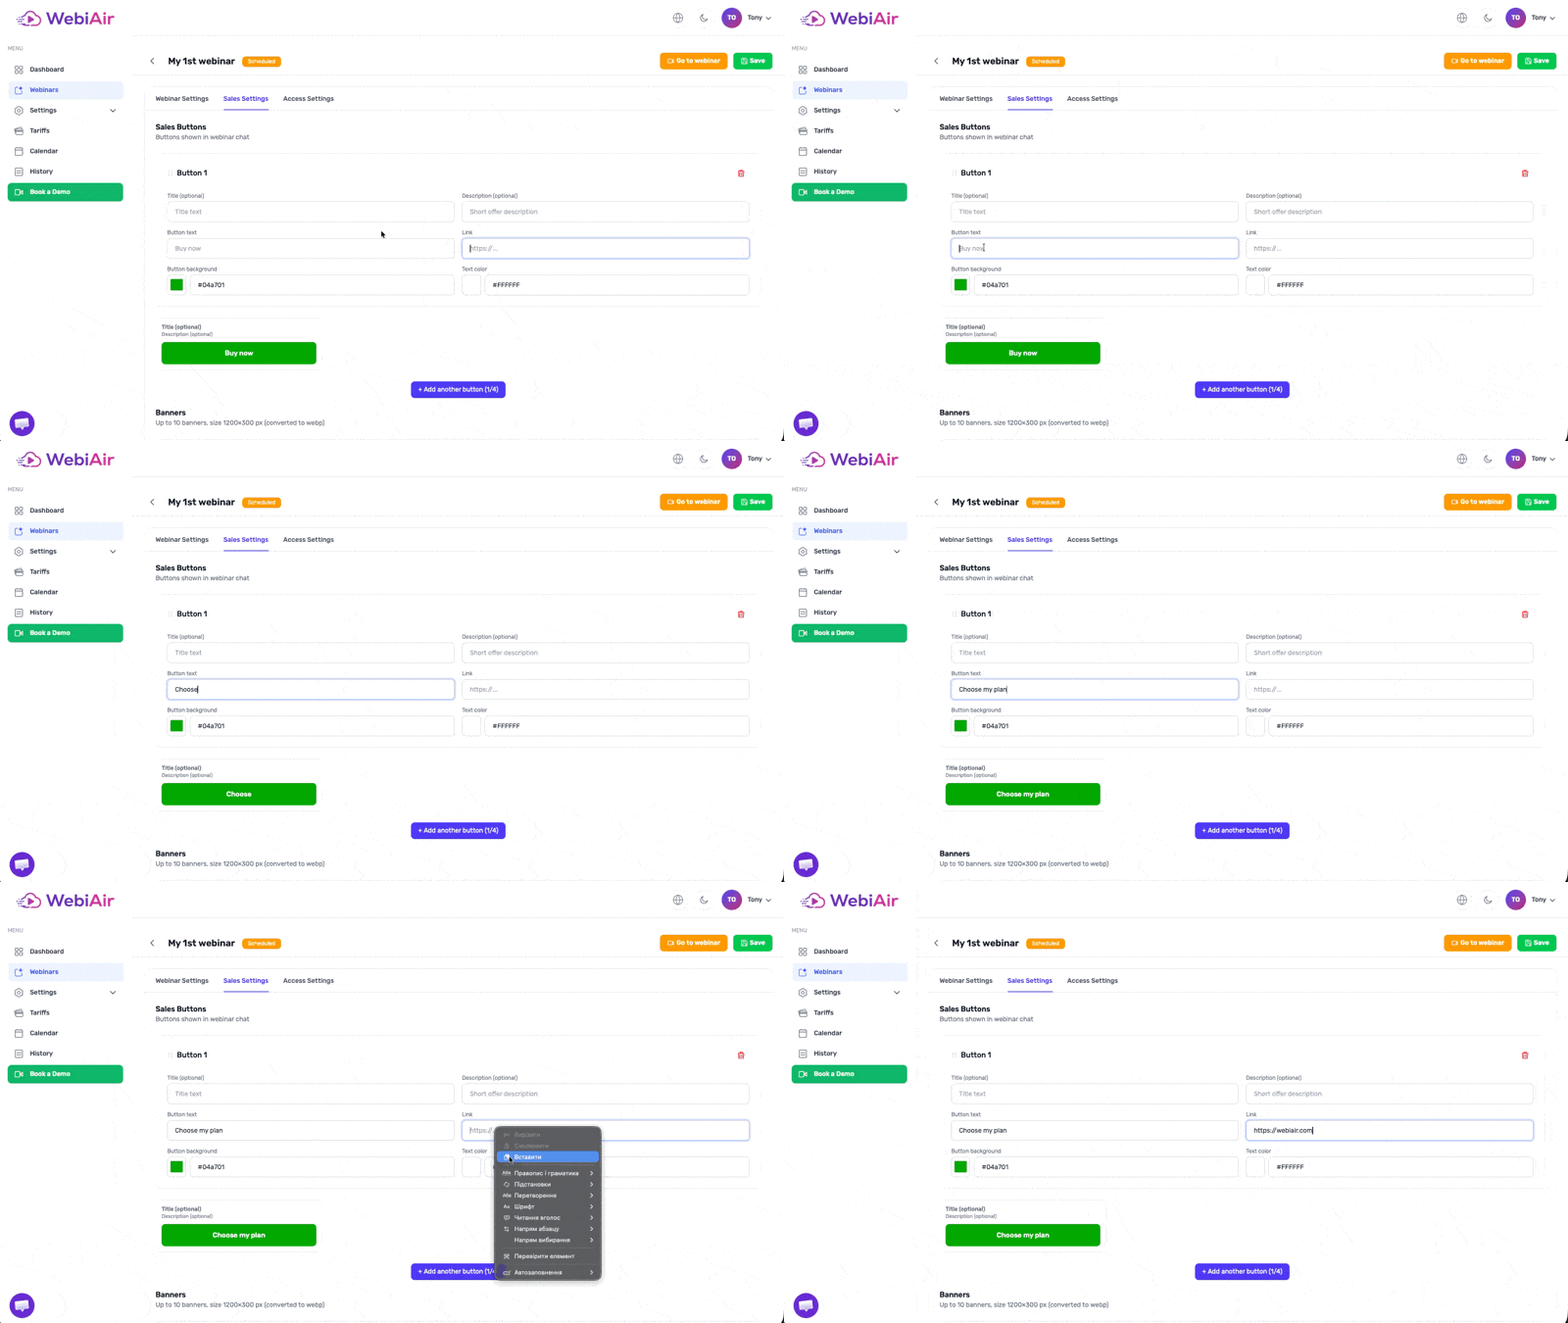
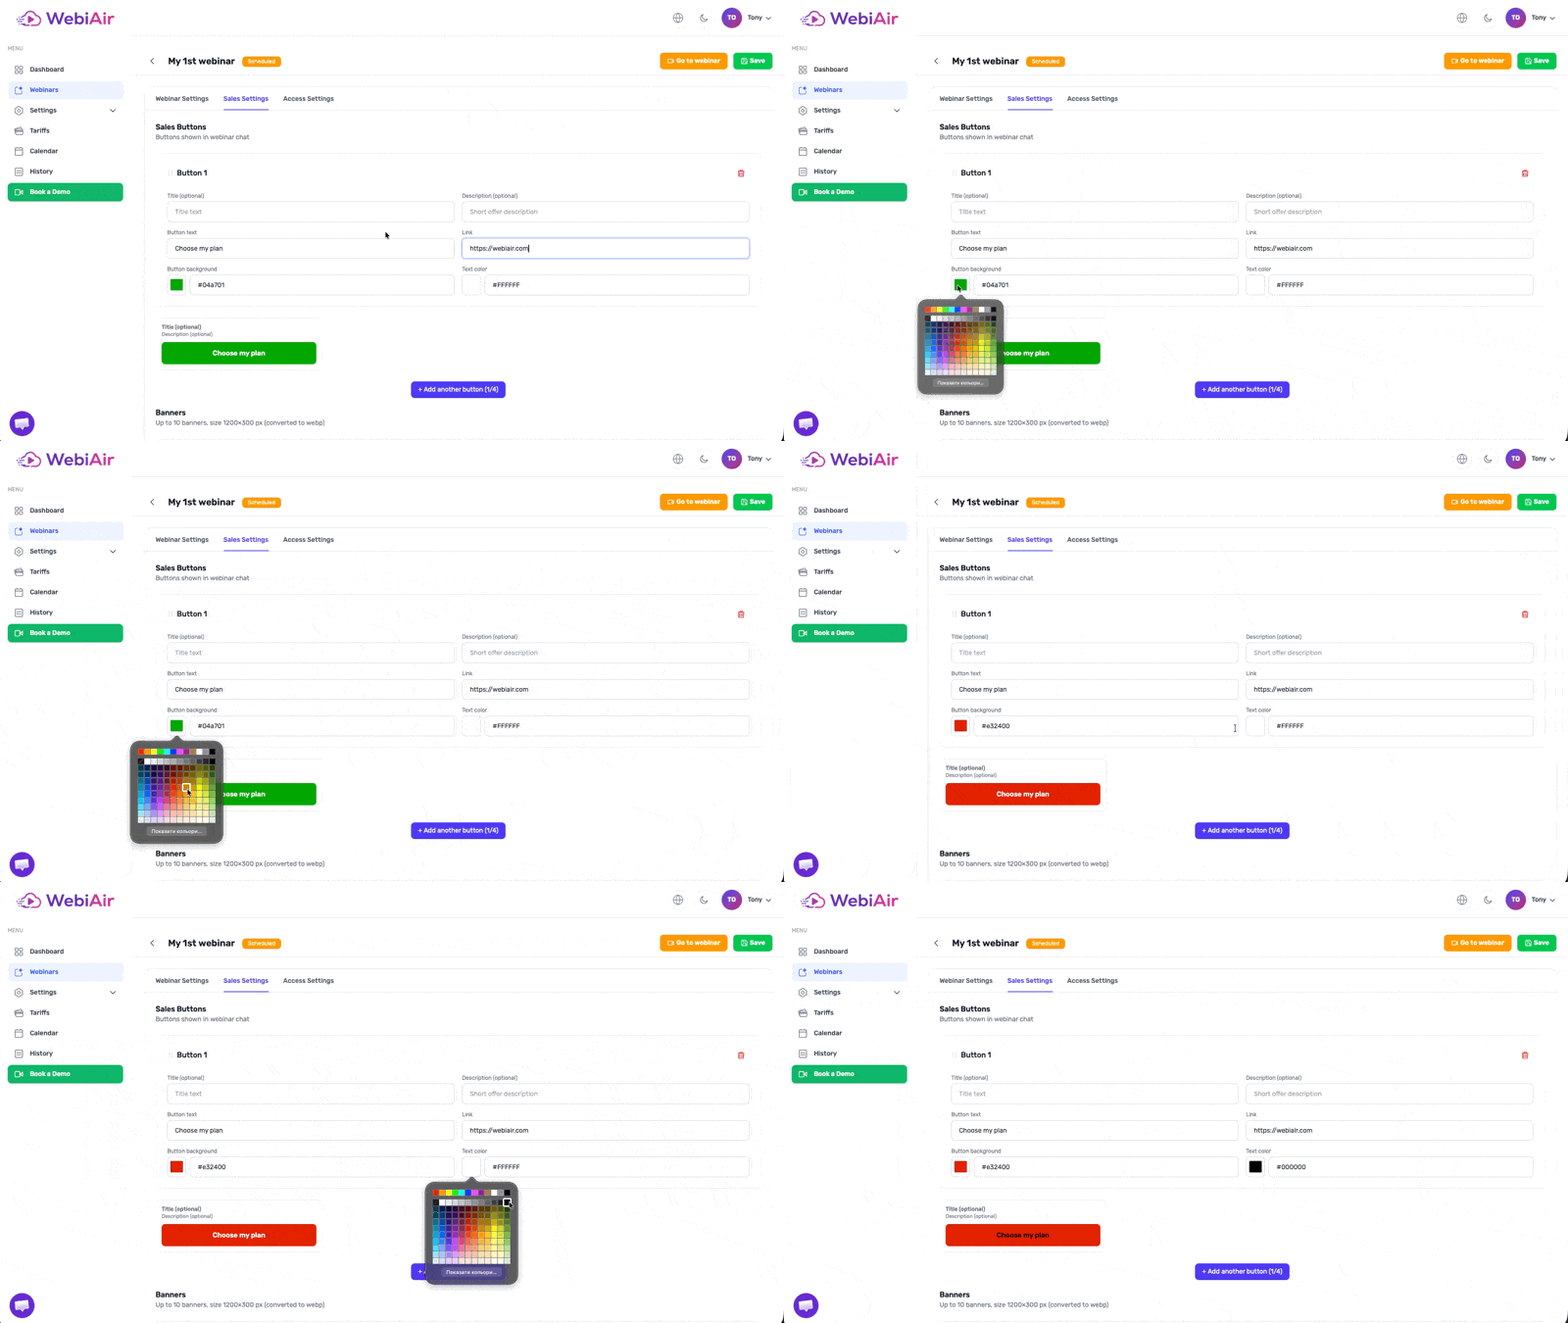
Step 3. Changing the Button Background and Text Color
You can set any HEX color by entering the color code in the “Button Background” or “Text Color” field.
Alternatively, you can select a color from the color palette by clicking the square to the left of the HEX color code.
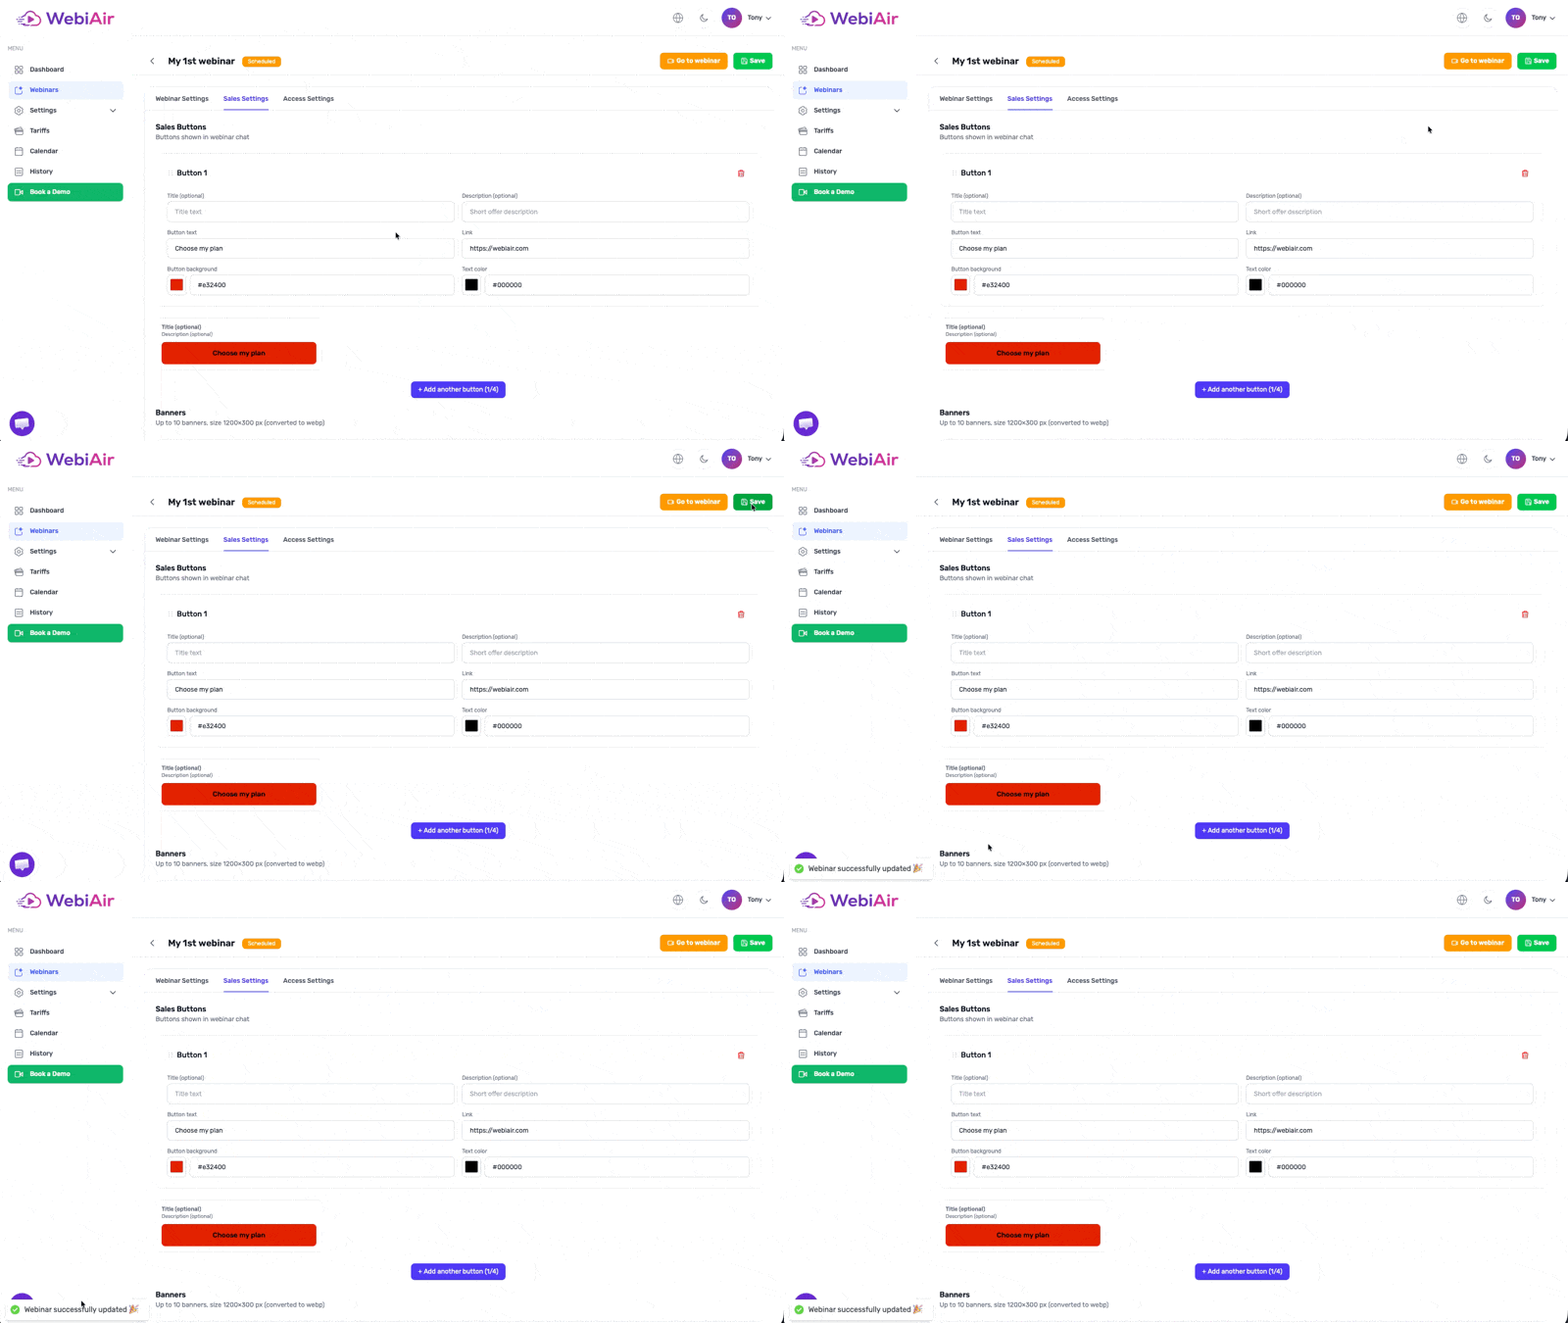
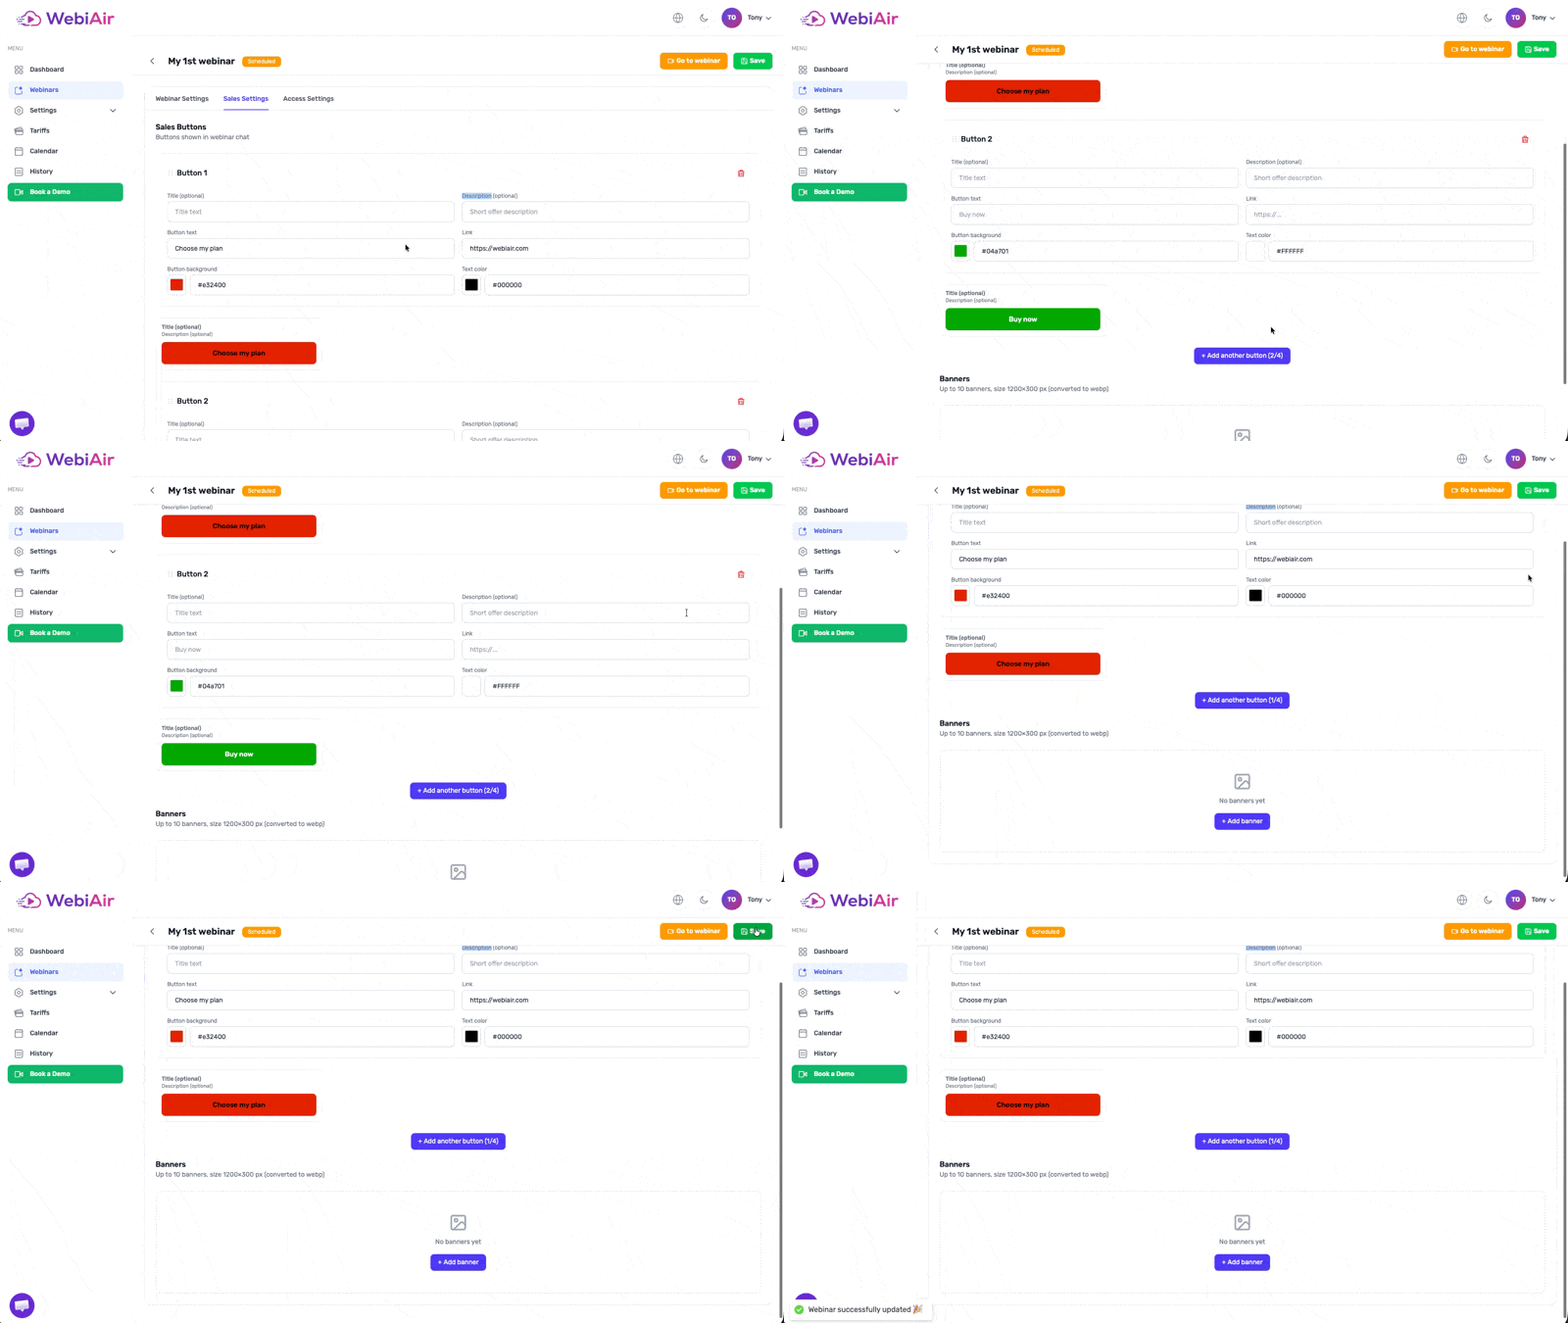
Step 4. Save the settings after adding the button.
Click the “Save” button in the top-right corner.
Step 5. Adding More Buttons
To create additional buttons, scroll down the page and click the “Add Another Button” button. Then repeat the same settings for the next button.
Additional Information
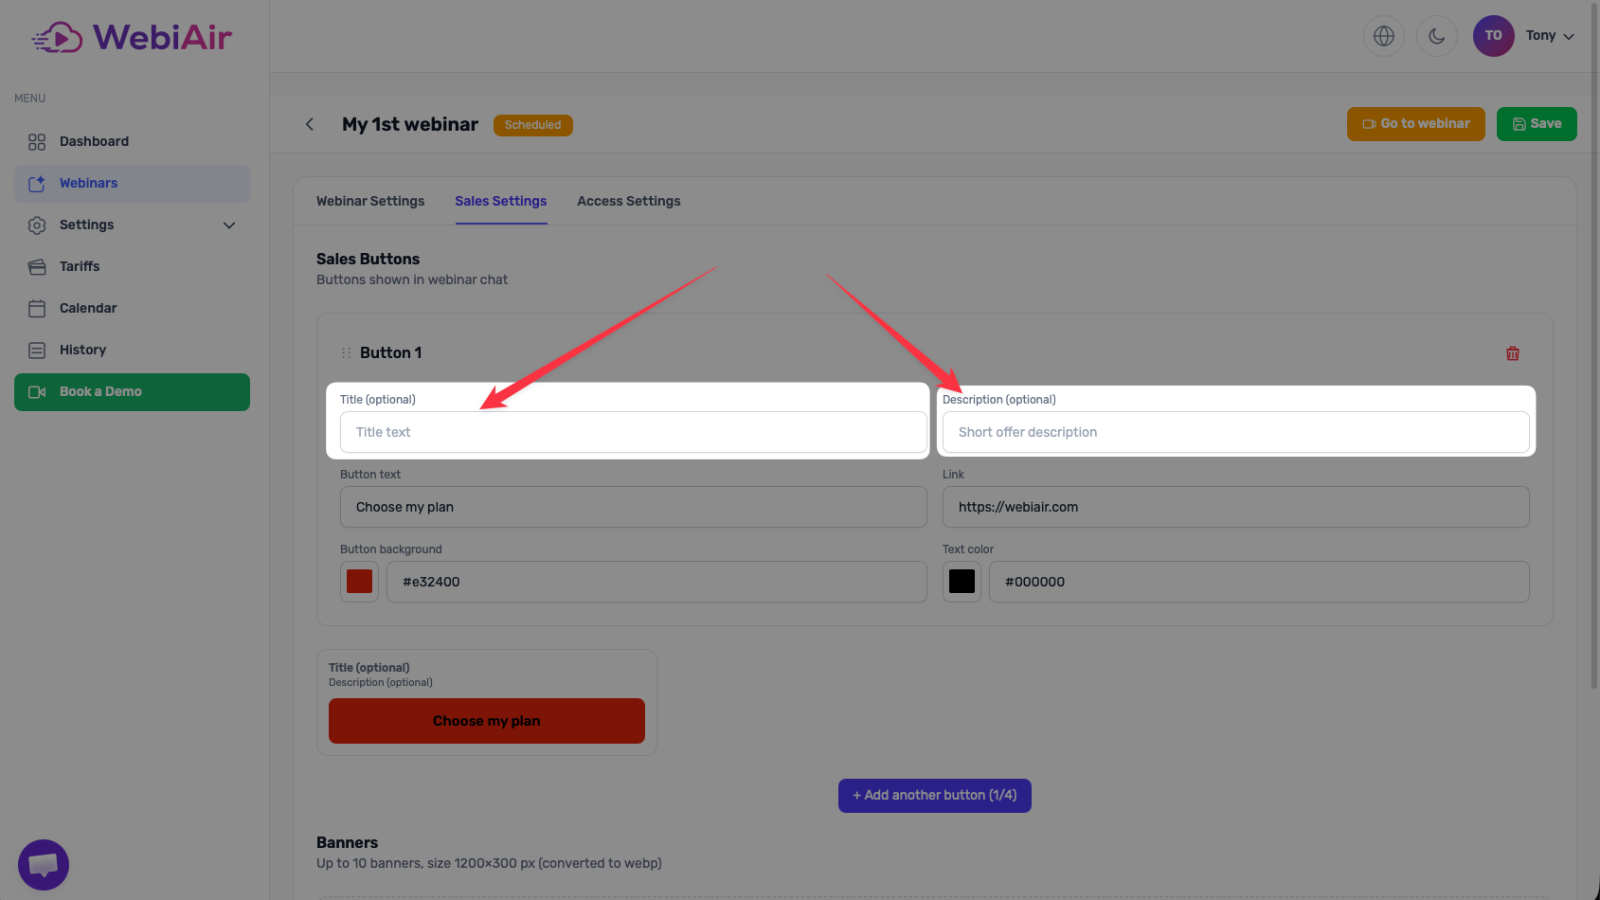
You can also add a “Title” and a “Description” to your buttons using the corresponding fields in the button settings.
Deleting a Button
To delete a button, click the trash icon located on the right side of the settings for the corresponding button. Then click “Save” to apply the changes.
Was this article helpful?