
Webinar Settings — Sales Settings, Buttons, and Banners
Обновлено October 12, 20261 мин чтения
Эта статья ещё недоступна на языке RU.
Посмотреть английскую версию →In this article, you’ll learn how to add sales buttons and banners with clickable links to your webinar.
What You’ll Need Before Getting Started:
A created webinar (click here to view the instructions)
An active paid subscription plan (click here to choose a plan)
Step 1. Open the “Sales Settings” Tab
In your created webinar, navigate to the “Sales Settings” tab located at the top of the page.
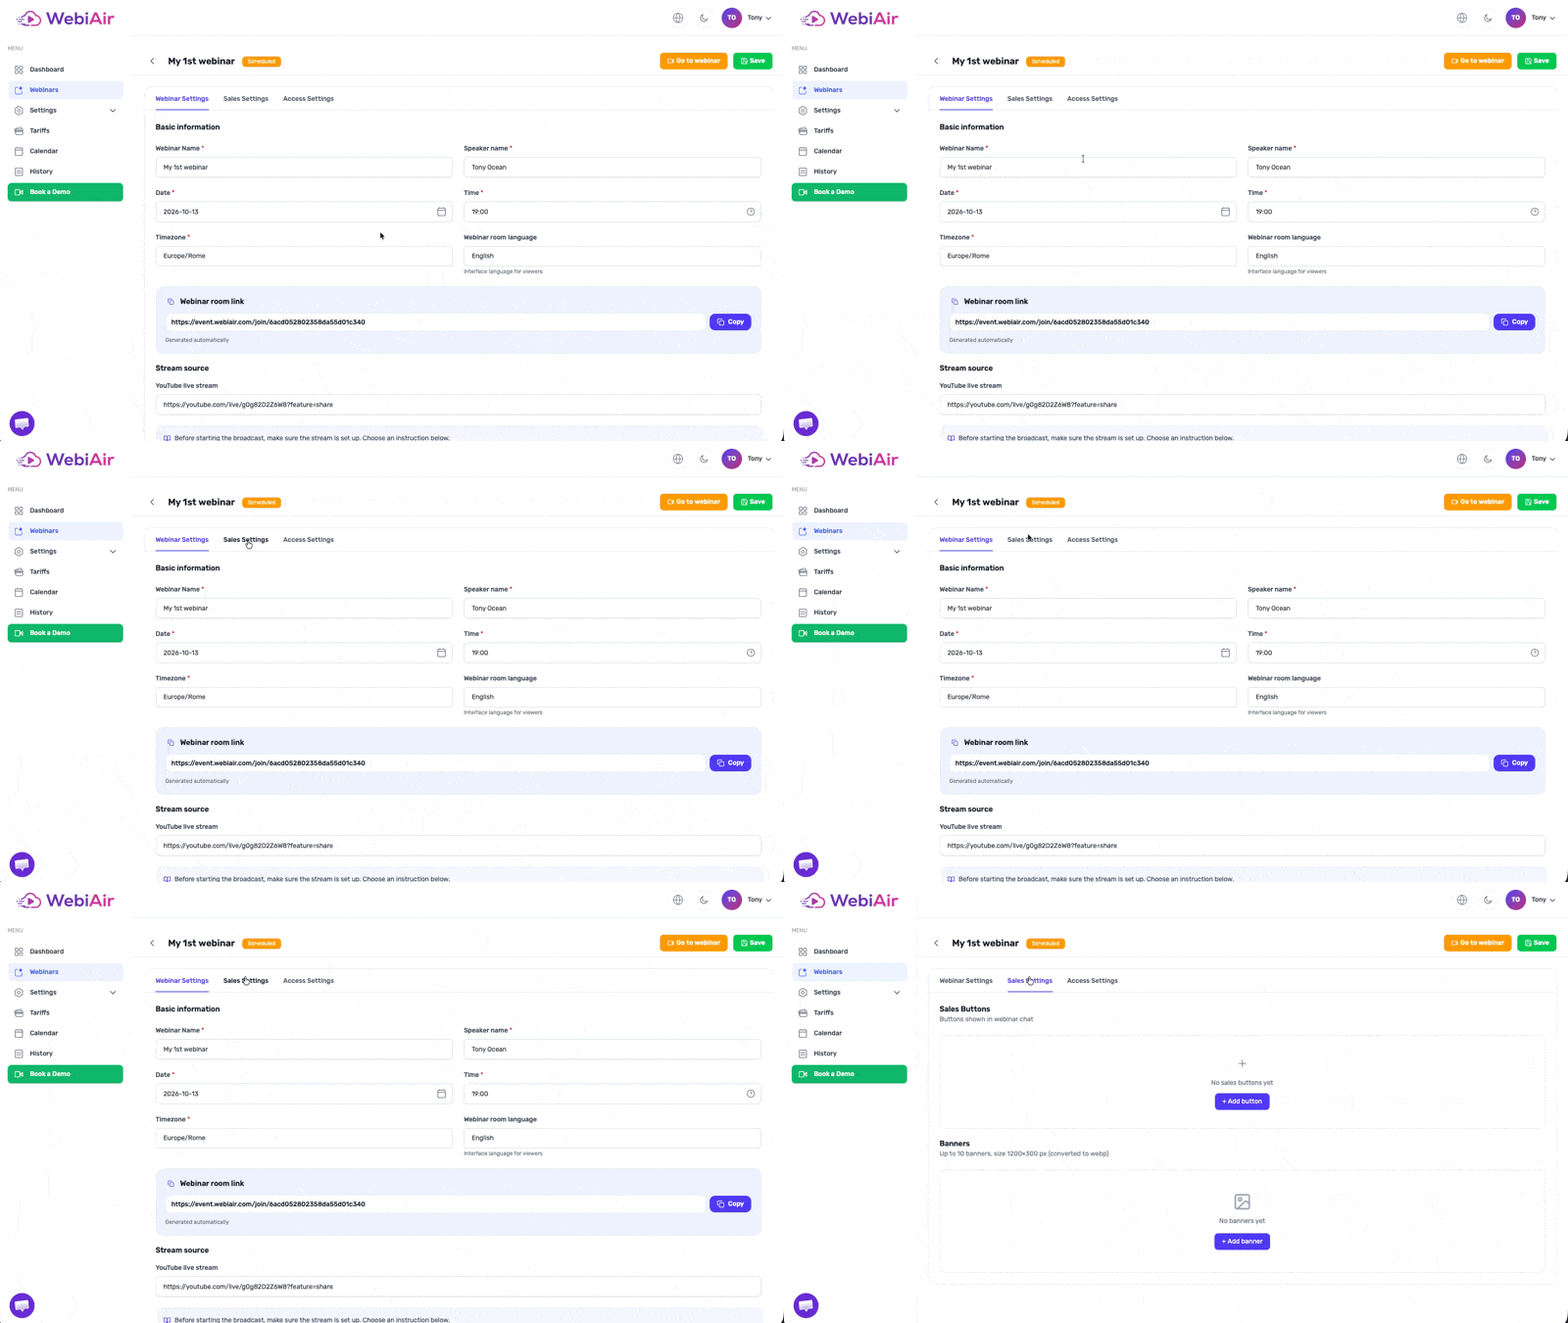
In the settings section, you can add up to 3 sales buttons and 10 banners, depending on your needs and marketing strategy.
To create a new button, click “Add Button”. To add a new banner, click “Add Banner”.
For more detailed instructions on configuring sales buttons and banners, check out the articles linked below:
Sales Button Settings
Banner Settings
Эта статья была полезной?